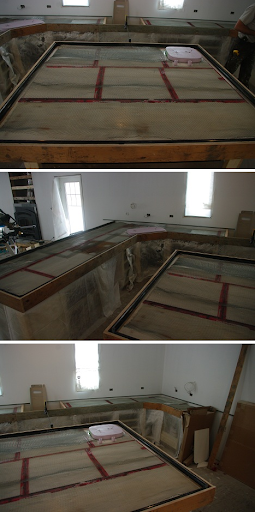
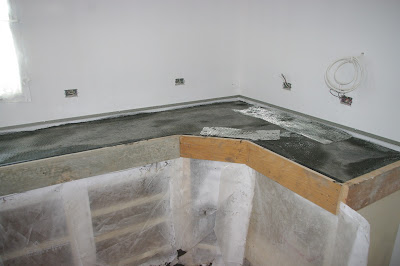
Here are the forms all ready for concrete.
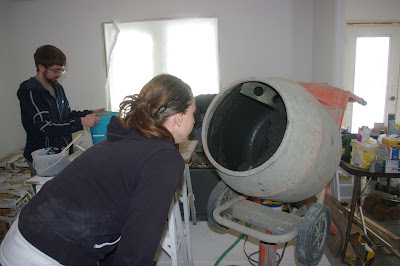
Then it was time to whip up our first batch of concrete. I PROMISE I will tell you our recipe in another post when I can finalize the price breakdown. This was the biggest stressor because NO ONE wanted to tell us how to make the concrete so it required lots of research and a little guessing. I "hope" it worked out well - we will only know when we actually take off the molds. Making the concrete required accurate measurements so we had a few scales and measuring cups in use - they worked great!

We were going for a consistency that was similar to a Wendy's frosty or thick oatmeal. I think we got it.
Once it was all mixed really well, it was dumped into a plastic garden cart and carted over to the counters. We did all the mixing in the dining room, right beside the kitchen where we were pouring. This is easy to do in an unfinished house!
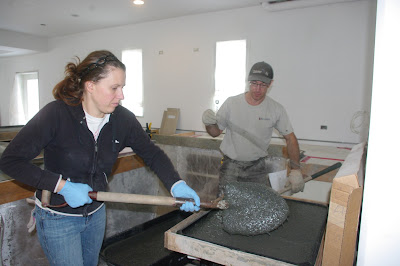
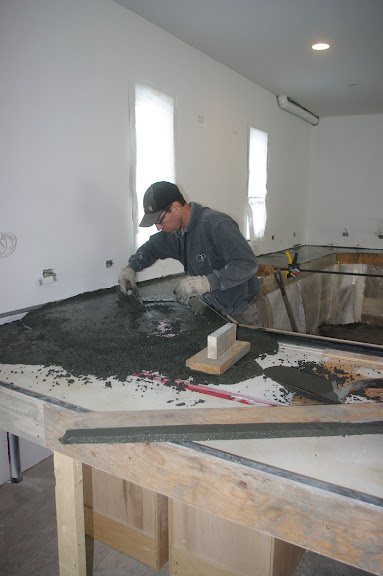
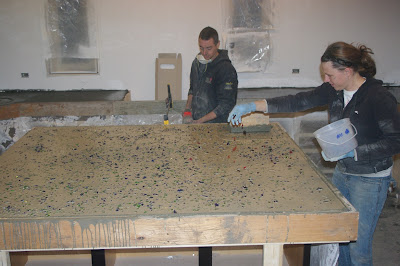
Then Mr.W and I shovelled the concrete into the counter top forms. This concrete is sticky!! It is certainly not a normal mix but we got used to it. We filled a little test piece first and then went to work on the counter tops themselves. The test piece helps us determine when to unmold and gives us a place to practicing grinding/polishing.
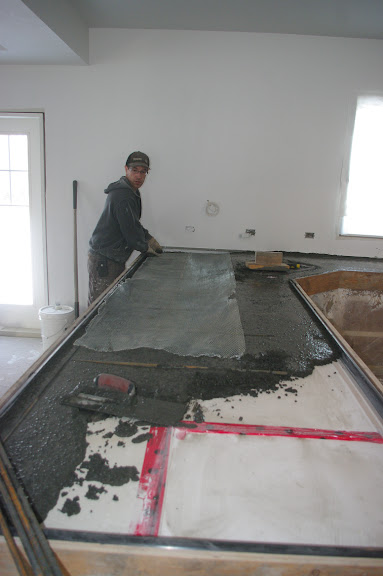
The counter tops will be 2" thick so we filled the forms halfway then added the expanding metal lathe we used for strength and support and finished by adding the remaining 1" of concrete on top of the lathe. Seemed to work just fine. Remember, this concrete is sticky with less water then usual so it is much more dense. We had to be sure to embed that lathe well to ensure none would be sticking up later.
Before and after adding the lathe, I vibrated the forms using a reciprocating saw without the blade. It worked really well. I vibrated until I no longer saw little bubbles coming to the surface of the concrete. I won't know how well I did until later this week but I hope I vibrated it enough!

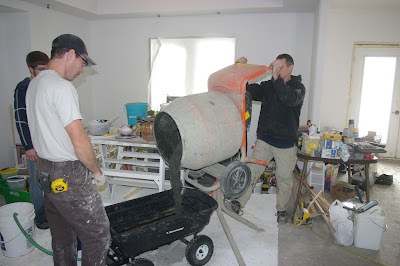
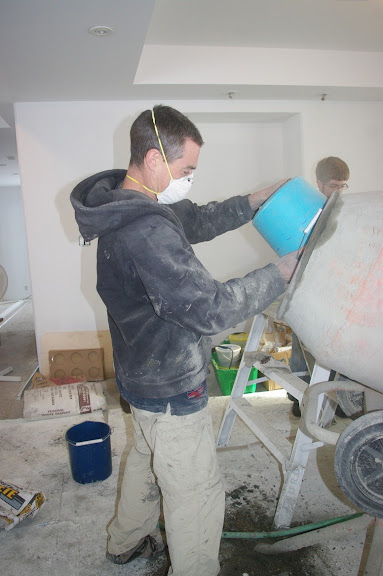
While Mr.W and I were working on the counter tops themselves, Jay and Mr.C (a guy we have hired to help us) worked on the next batch of concrete. They always rinsed out the mixer before starting a new batch. They got quite efficient at it after a while. They had to be sure to add each ingredient at the correct amount for each one. Nothing could be left out. The water was the only variable, sometimes using a little more than other times. That one was the hardest to perfect since each bag of cement had a different humidity level to it. They did such a great job.

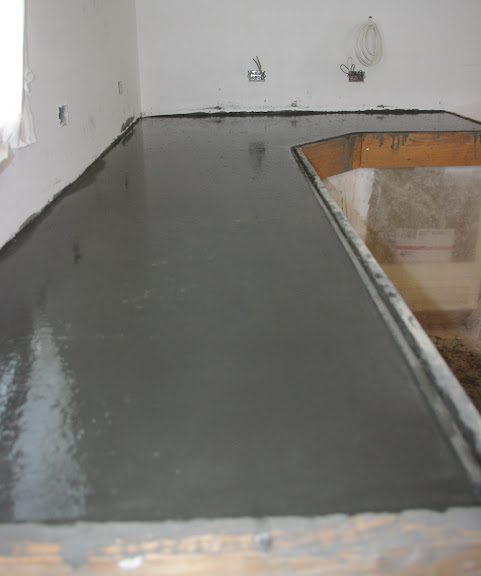
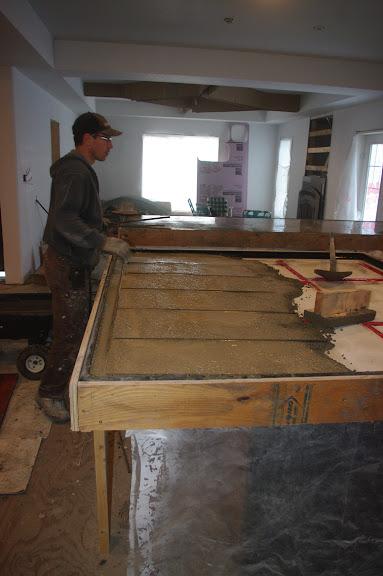
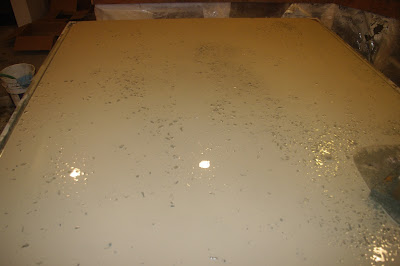
After the first counter top was poured and screed, this is what it looked like:
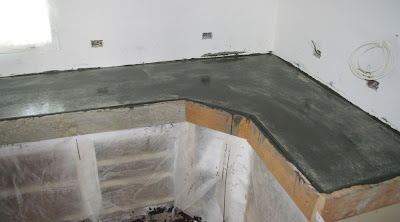

It looked a little fuzzy due to all the fibres we used in the mix sticking up. With more trowelling most disappeared but some still remained. We are convinced they will completely disappear with grinding/polishing and, if not, we can always burn them off. After a couple of hours of sitting, this is what the same counter looked like:
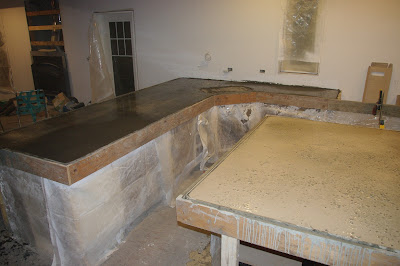
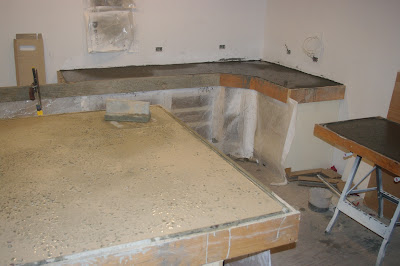
We continued to progress our way around the kitchen perimeter since all those counters are the same recipe, a nice dark charcoal.
Mr.W had to do a little playing around the sink opening in the perimeter counters because the sink form (Styrofoam) was about 1/4" lower than the outside of the counter top form. I am still not sure how it will turn out when dry but I am convinced it will need a bunch of grinding. Please be sure your sink form and counter top form are at the same level - it makes things infinitely easier (as is the case with our island sink - so much easier!).
Around each sink opening and for each cantilevered counter, we added in rebar as well as the expanded metal lathe.
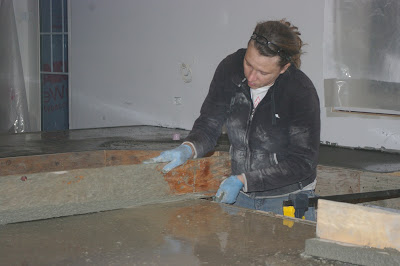
It took many batches of concrete but eventually the charcoal perimeter counters were done. Time to clean off all the tools and start on the island counter. The island is a light grey color (bordering on beige) so we needed to be sure all the tools and the mixer were nice and clean. I didn't want charcoal streaks in the light grey counters. Once again we added in rebar and metal lathe on the cantilevered section.
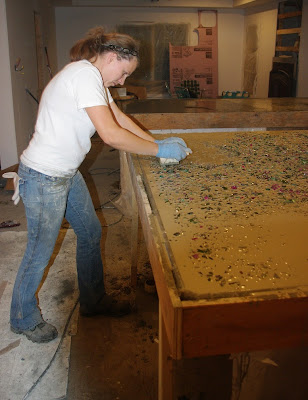
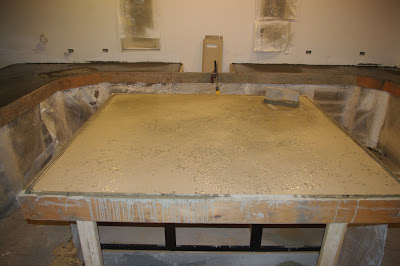
We used long pieces of wood to screed everything smooth.
The island counter was filled with concrete and screeded smooth

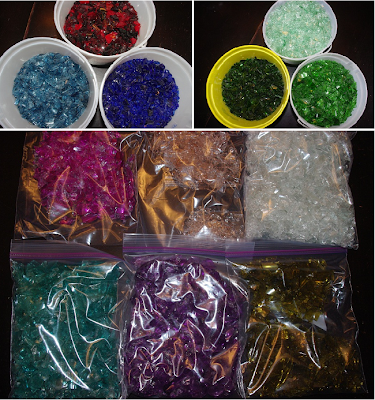
before the very fun part of seeding the glass began. While I seeded, Jay vibrated.
I used most of these colors, almost 43 pounds of glass. I did not use the clear, the very light pink or the yellow/amber.
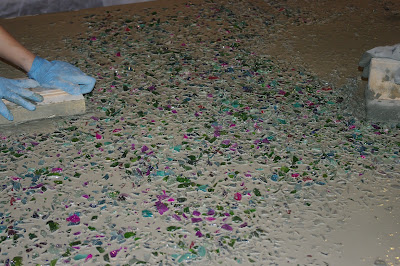
Once the glass was seeded, we needed to embed it in the concrete. Remember, this is dense sticky concrete - the glass did not just fall into place. It required some good strong muscles to work it in. But, eventually, it was all covered by concrete. The next day both Mr.W and I had very tired arms and my wrists and hands hurt, too. It was totally worth it (well, I say that prematurely as we have not yet finished this counter. It still needs grinding/polishing but I have high hopes!).
Then it was time to clean up all the equipment and start the very long process of steel trowelling the counters. Obviously with the glass on the island, it was impossible to trowel so we left it alone. The perimeter was super easy to trowel, leaving very little to no marks, thanks to the dense cement-rich concrete.
By the time 9:30pm rolled around, I was super tired. I had been at the house 12 hours already and I was so done. Everyone else had gone home a few hours earlier. I was falling asleep, I was so exhausted. The counters were drying slowly so I figured it would be okay to go home. Thankfully, Mr.W could still trowel in the morning and the rest of the imperfections will disappear with grinding/polishing. As for the island, it looks like a concrete security fence with glass shards sticking up! We will figure out what to do with it later on this week. But for now, we let them continue to cure.
Overall, the pouring of the counters was a fairly easy and enjoyable process. The prep leading up to it was stressful and I imagine the grinding/polishing will be a steep learning curve but . . . so far . . . so good!


Good choice going for cement, Chantelle! It is cheaper than traditional ceramic and granite countertop, so picking concrete is a good decision if your primary objective was to save money. And doing it yourself, without acquiring any manpower, definitely cut the bill smaller! Kudos to you!
ReplyDeleteso what is the concrete recipe???
ReplyDeletewhat type of glass did you use? and where did you purchase it?
ReplyDeleteCould you please post about what your concrete recipe was? I have seen a lot of concrete countertops and your are so beautiful!! Have you found them to be fairly durable? Please share!
ReplyDeleteCould you please post about the concrete mix that you used? You have the most beautiful concrete countertops I have seen! DIY or professionally done. Please share you secrets! Have you found them to be durable?
ReplyDeleteBeen over a year since you "Promised" the recipe for those countertops. They look amazing, I wish you had chronicled the rest of the process (polishing, sealing, topcoat, etc.). I would love to be sure I could produce a similar outcome.
ReplyDelete