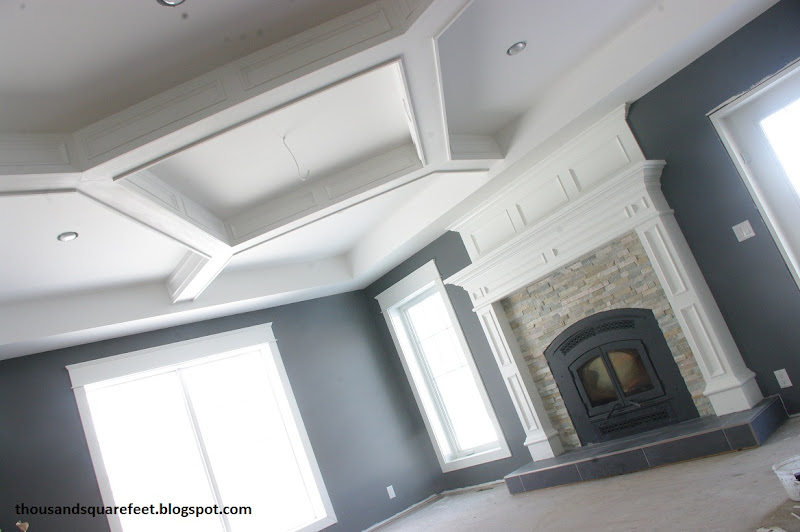
This is a DIY project to the max! We even built the house the fireplace is in! :)
 |
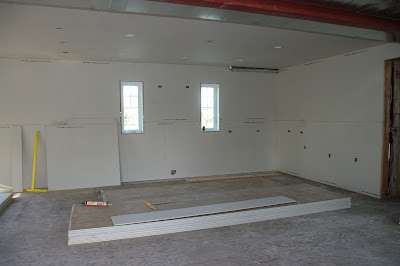
| Raising the chimney chase walls themselves, way back in June of 2012 |
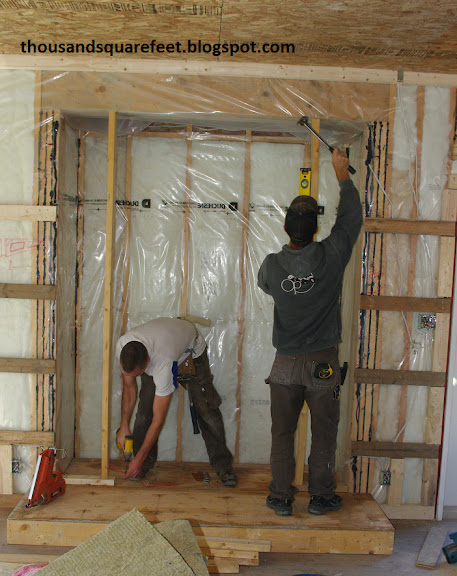 |
| Framing out the fireplace opening |
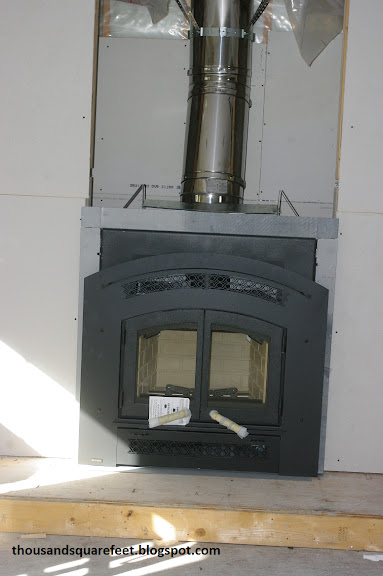 |
| Fireplace is newly installed |
The decision to have a wood-burning fireplace in our new home was a no-brainer. I love the sound of a fire crackling in the hearth, I love the warmth the fire gives and I love the coziness it provides to a room. We did bat around the idea of a gas fireplace for a little while but when we learned that a wood-burning fireplace would not increase the cost of insurance for our house one little bit, wood-burning it was. Then it came time to figure out what kind of fireplace we needed and wanted. Jay wanted it to be a source of heat for the house and it needed to be efficient and put out a lot of BTU's. He told me which companies to pick from, I picked the ones I think looked the prettiest from those companies and then he ultimately chose the one that would be the best for our home. Then it was time to figure out what the mantle, surround and hearth was to look like. I knew I wanted a traditional look and feel to the fireplace. I am not much for a modern look, preferring the comfort of traditional styling. I scoured the web for inspiration photos and sent them off to Mr.W to give him the idea of what I wanted (for those of you visiting for the first time, Mr.W is our carpenter/builder guy we have hired to help us build our home. He works alongside us most days making sure the house gets built right.) I still have those photos attached to that email but since I didn't record their source, I won't share them with you. Then came time to frame out the fireplace opening.
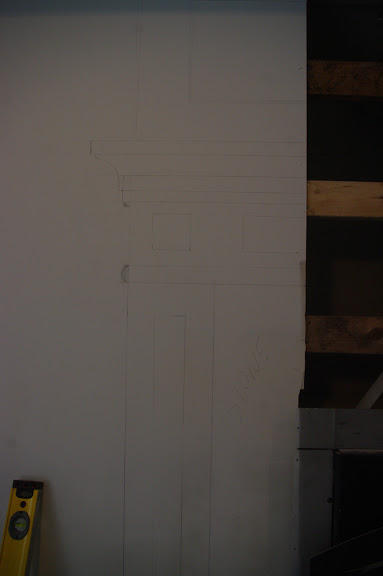
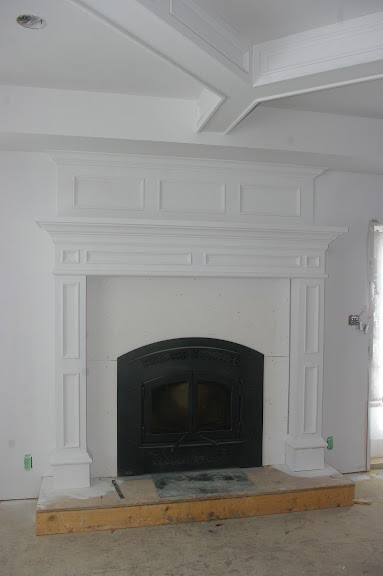
Before any work started on the actual surround, Mr.W drew out his idea on the wall. I was so excited after seeing that drawing! Not only did the drawing help us to agree on the design, it also gave Mr.W a reference point once the building of the surround began. Once that was done, Mr.W adding back framing here and there to make sure there was something to nail the MDF to when making the actual surround.
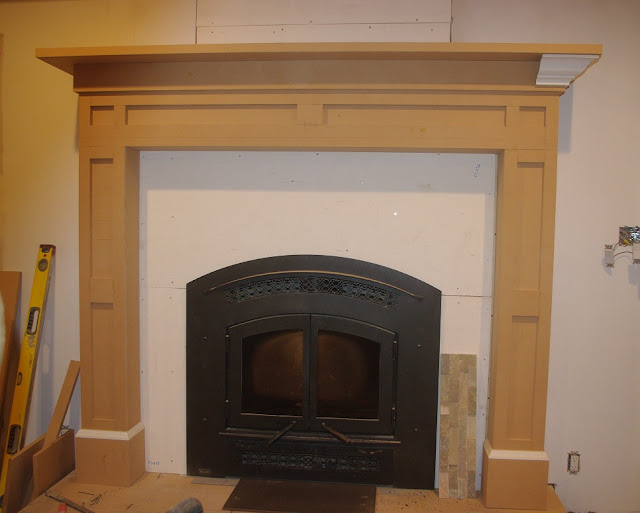
Then came time to cut the MDF. What a dusty process! He added pieces here and there and the surround started to take shape. Along the way, we talked together about how we wanted it to look, what size mouldings to use and numerous other little details that would affect the final outcome. While Mr.W did the majority of the wood work on the surround, I did add most of the panel moulding on the surround myself.
Then it was time to paint. Obviously, that was preceded by lots of sanding of the MDF and filling of all the nail holes. Then I painted a few coats of Distant Grey by Benjamin Moore, the same white we are using on all the trim in the house. I added Floetrol to the paint to increase the working time and hopefully avoid brush marks. Though it looks pretty good from a distance, I will still go over a couple areas again just to get it a little smoother. Once it was all painted, it was time to add the stone.

I had seen this stone months earlier at Costco and thought it could be a nice fit for the house but wasn't sure on the price. I told Jay about it and we decided to think about it a little. Once we determined it was not only a good look but a fantastic price, I went back 1-2 weeks later to get some and it was all gone! Ack! I wanted that stone. So, we decided to keep our eyes open elsewhere but nothing jumped out at me. Then, a long while later, while at Costco, they had the stone in stock again! So, we quickly did a mental calculation and popped a bunch of (very heavy) boxes in the cart. I was giddy!
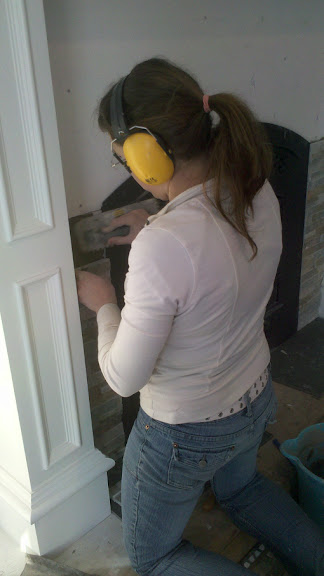
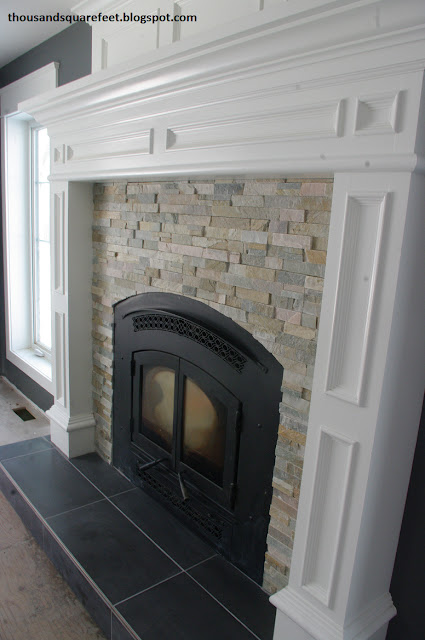
It was my job to do the stone work on the surround and I was quite okay with that. This stone comes in long rectangle strips made up of a bunch of little stone pieces glued together. Since the pieces are all different colors full of shades of greys, whites, pinks, oranges, browns and beiges, I pulled out all the pieces from the many boxes we bought and laid them out on the floor. Then I picked all my favorite pieces based on the color composition. I then arranged those pieces into the approximate shape I needed, marking which parts of the stone I would keep and which parts I didn't want. It took a little time initially but once it came time to cut the stone, it was much quicker for having figured it all out beforehand. The rest of the uncut stone I will repack and return to Costco. (They have a fantastic return policy!)
The stone cuts really well with a wet tile saw but you sure do get wet!
I started at the bottom of the surround and cut those pieces. Once both sides had their pieces cut, I mortared them in place.
Since we were attaching the stone to cement board, there was no need for lathe. We just used mortar applied to the surround and back buttered on each stone to set them in place. I did the sides up to where the fireplace starts to curve.
Then I went back to cutting and dry-fitting each stone in place. Whoever had the idea of a curved fireplace is a little insane! It takes so much longer to cut one curved piece of stone than many straight pieces. And if you know anything about tile saws, you cannot cut a curved shape. It takes lots of kerf cuts and some grinding with a rotary tool and lots and lots and lots of patience! BUT I did a fantastic job, if I do say so myself! I eventually had all those pieces of stone cut and mortared in place and the result is beautiful!
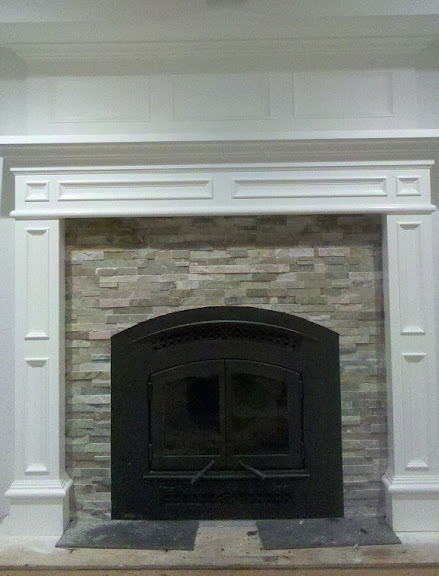

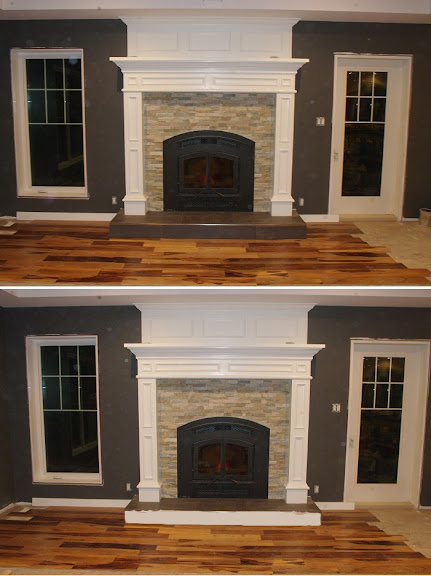
Then came the whole "what color tile for the hearth" debate. I was quite sure the dark grey tile was what I wanted. I saw it in stock at the local hardware store, walked by it many times each morning when I had to pick up something or other and finally thought that was the one I wanted. It looked perfect with the stone, drawing out the grey. But once I had the stone in place and finished cutting most of the tile, something looked off. I took a photo and didn't like what I saw.
I couldn't change the stone - it was mortared in place. I refused to change the flooring since it is the most perfect floor ever so it was the tile that needed to change. Thankfully Mr.W suggested I paint the walls before doing anything else. I did that and suddenly the tile worked.
There was some suggestions to paint the front of the hearth white but after some photoshopping and some photos, it was dark all the way.
I finished cutting the last few remaining tiles and then mortared those in place, leaving 1/8" space in between for grout. The grout ended up being a little lighter than I expected but I like it anyway!
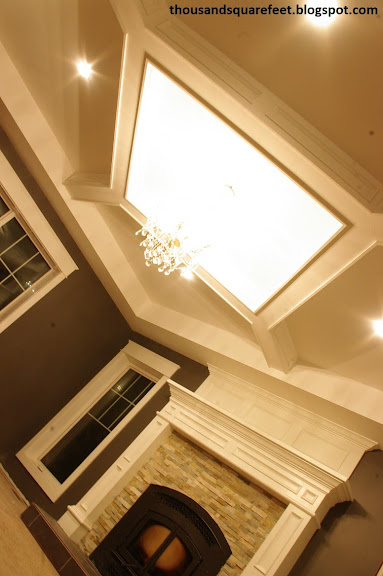
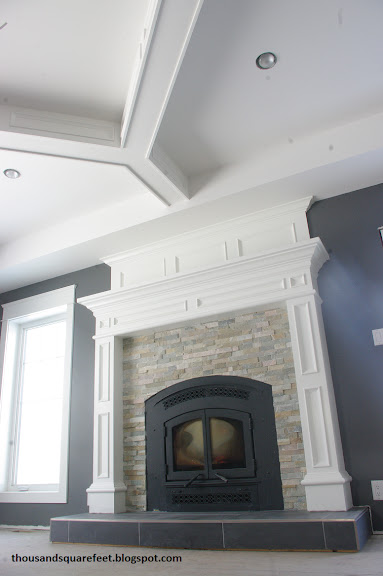
Some of you may see that the mantle is quite tall. I have a hard time reaching the mantle while standing on the floor. The fireplace required a certain amount of non-combustible material around it. That is the stone. But I really loved the look of a large and chunky mantle. Yes, I know that it will be a bit of a challenge to reach the mantle for decorating or a challenge to find stuff to put up there but I love the look and am so glad we did it this way. A smaller, shorter mantle just would not have done this room justice! And besides, even without any decor up there, it looks stunning!
This fireplace has been the best investment ever! It throws a lot of heat and is our primary heat source while building. True, our geothermal is all hooked up but if we turn it on during construction, we void the warranty. So, until we move in, it is this fireplace and 2 small space heaters that are keeping a 2-storey house (3600 square feet) at a comfortable 60F.
I look forward to adding our new leather sectional to this room and hanging out with the whole family! We just gotta finish this room (and the rest of the house) first!
Thanks for stopping by! I would love to hear what you think of our work.
Partying over here:
